

Most people who buy a condo in the Philippines do not fully understand the process until they are already inside it. A developer's sales presentation covers the highlights — the amenities, the payment scheme, the projected completion date. It rarely walks you through every stage between signing a reservation form and holding the keys to a unit that is legally in your name.
This article fills that gap. It covers the full condo buying process in sequence: what each stage involves, what you need to prepare, and what to watch out for along the way.
Step 1: Assess Your Readiness Before You Visit a Showroom
The process begins before any developer is involved. Understanding your financial position first prevents you from committing to a property that does not fit your situation.
Work out your actual monthly capacity — not the monthly amortization in a developer's flyer, but what you can genuinely sustain after all your existing obligations. Check your Pag-IBIG contribution history if you plan to use a housing loan; the program requires a minimum of 24 monthly contributions to qualify. Verify that you have no outstanding Pag-IBIG housing loan and no multi-purpose loan in arrears.
Also factor in closing costs, which are separate from your loan. Documentary stamp tax, transfer tax, registration fees, and notarial fees typically add up to roughly 8–10% of the property value — a figure that catches many buyers off guard at the end of the process.
Our first-time homebuyer checklist walks through the financial preparation phase in detail, including documents to gather and how lenders assess your repayment capacity.
Step 2: Research Developers and Verify Project Credentials
Not all condo projects carry the same level of risk. Before you visit a showroom, spend time understanding who built what you are being asked to buy into.
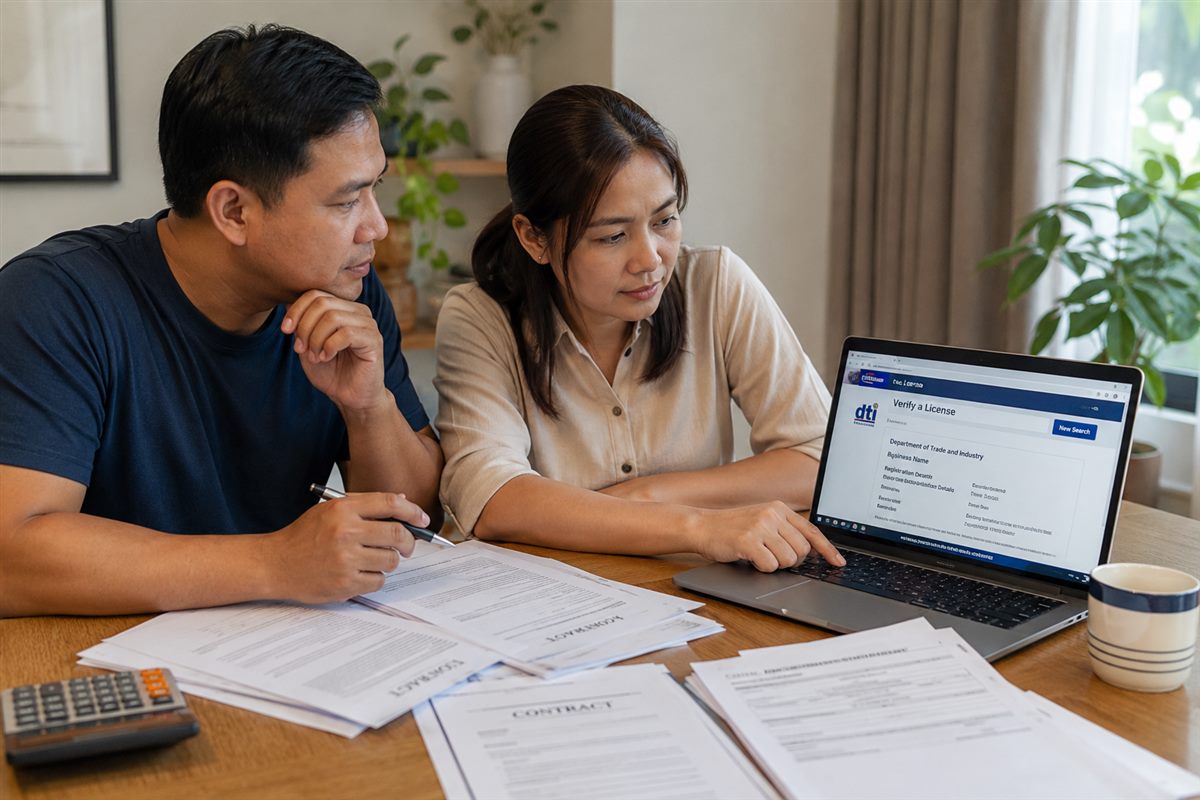
Under Presidential Decree 957, a developer must hold a valid License to Sell (LTS) from the DHSUD before they can legally accept payments for any unit. This is verifiable through the DHSUD website. For a preselling project, this is one of the first things you should confirm — a project without a current LTS is a legal and financial risk, regardless of how polished the marketing materials look.
Beyond credentials, look at what the developer has actually delivered. How many projects have they completed? Did those buildings finish on or near the target date? Were the amenities built as promised? Sales presentations are not evidence of track record — completed buildings are.
Our guide on how to spot a trusted condo developer gives you a structured way to evaluate this before you commit.
Step 3: Choose Your Unit and Pay the Reservation Fee
Once you have identified a project and a developer you are comfortable with, the next step is to reserve a specific unit. Paying the reservation fee holds that unit off the market while the formal paperwork is prepared.
Reservation fees vary by developer and project. They are generally non-refundable, though some developers apply the amount toward your equity. Read the reservation agreement carefully before paying — specifically, what happens to that fee if you change your mind or if the project is delayed significantly.
At this stage you should also be shown the complete payment scheme: the equity (down payment) breakdown, the monthly installment schedule during the construction period, and the financing options available for the balance. If anything in the computation is unclear, ask for it in writing. Do not proceed based on verbal assurances.
For preselling projects, understanding what you are committing to upfront is especially important. Our preselling condo guide explains the specific risks and advantages of buying before a building is complete.
Step 4: Sign the Contract to Sell
After the reservation, the developer will prepare a Contract to Sell (CTS). This is the primary legal document binding both parties. Read it in full — do not rely on a sales agent to summarize it for you.
The CTS will specify:
- The total contract price and payment schedule
- The projected turnover date
- Penalties for late payments on your side
- Obligations of the developer regarding construction completion and amenities
- What happens in the event of default by either party
You are also protected at this stage by the Maceda Law (Republic Act 6552), which applies to all installment purchases of residential real estate, including condominiums. If you have been paying for at least two years and encounter financial difficulty, the law grants you a grace period — generally one month for every year of installments paid — before the developer can cancel the contract. Buyers who have paid less than two years are entitled to a minimum 60-day grace period. Any contract clause that waives these rights is legally void.
Important: The Maceda Law protects installment buyers — but it has limits. It does not prevent contract cancellation indefinitely; it only gives you a window to catch up. Understand your payment obligations fully before signing.
Step 5: Pay the Equity (Down Payment Period)
Most preselling condominiums structure the equity as a series of monthly payments spread across the construction period — sometimes 24, 36, or 48 months. This is not the same as a loan. You are paying the developer directly, from your own funds, on a schedule defined in your CTS.
Stay on top of these payments. Late equity payments attract penalties and, in persistent cases, can give the developer grounds to cancel the contract under the terms you agreed to. Set reminders. Keep proof of every payment made.
During this period, keep your documents organized: your CTS, official receipts, and any correspondence with the developer. You will need all of this when it is time to apply for financing.
Step 6: Apply for Your Housing Loan
If you are financing the balance through Pag-IBIG or a bank, the loan application process runs parallel to — or toward the end of — your equity payment period. Developers typically require loan documents to be submitted well before the end of your equity schedule, sometimes as much as 90 days ahead.
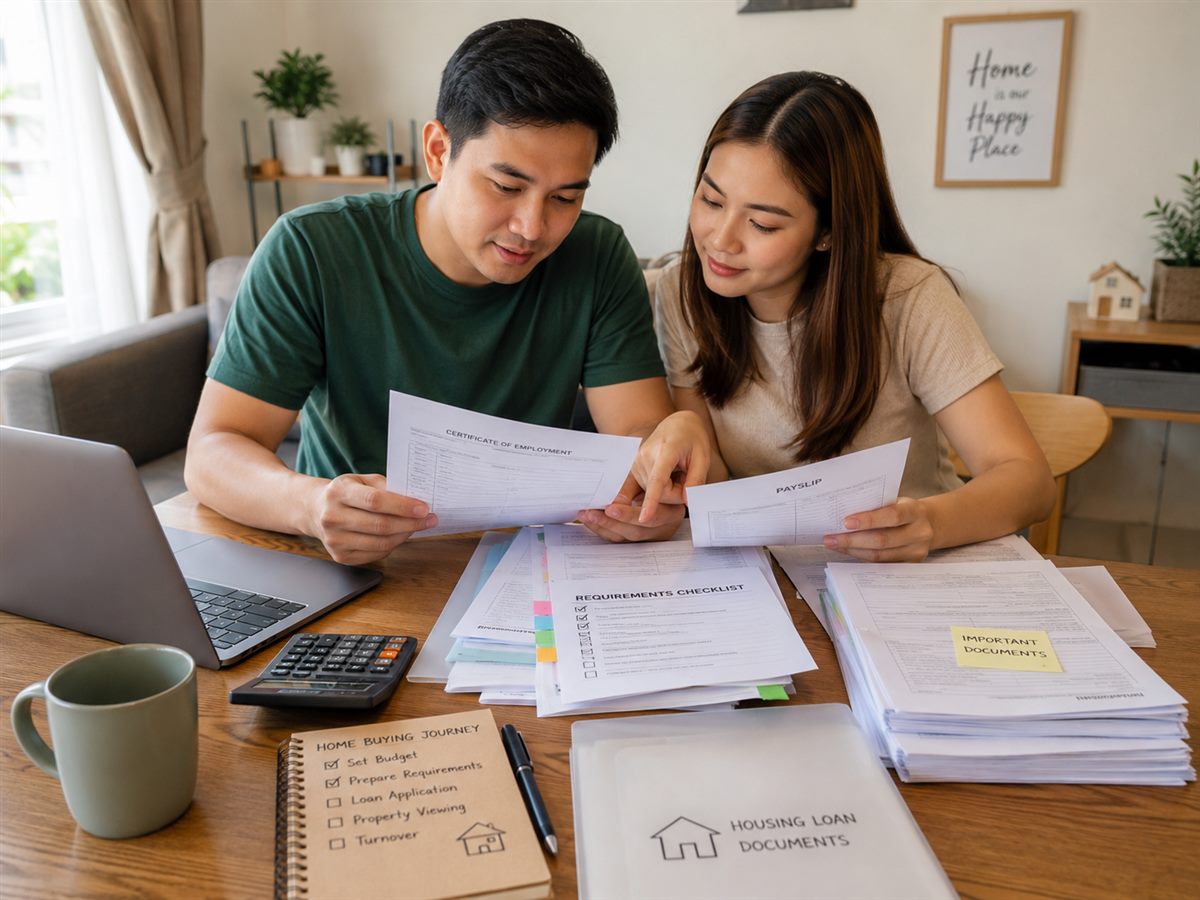
For Pag-IBIG, the core requirements include proof of active membership (at least 24 contributions), proof of income, valid IDs, and the relevant property documents from the developer. As of May 2026, Pag-IBIG allows members to borrow up to ₱10 million with a repayment period of up to 30 years.
Processing time at Pag-IBIG varies. Build in a buffer — do not wait until the last month of your equity period to file.
Our Pag-IBIG housing loan guide covers the full application process, eligibility requirements, and what to expect during evaluation.
OFW buyers have a slightly different path, including the use of a Special Power of Attorney to authorize a representative in the Philippines. Our OFW condo buying guide covers this in detail.
Step 7: Loan Approval and Full Payment of Balance
Once your loan is approved, the proceeds are released directly to the developer — you do not handle the funds yourself. From this point, your monthly obligation shifts from equity payments to loan amortization paid to Pag-IBIG or your bank.
If your loan amount does not fully cover the remaining balance (this can happen if the appraised value comes in lower than the contract price), you will need to cover the difference in cash before the developer will proceed with turnover.
Step 8: Unit Turnover
When construction reaches completion and your account is fully settled, the developer will issue a Notice of Unit Turnover (NOUT). This gives you advance notice — commonly 30 to 60 days — to prepare for the handover.
Before accepting the unit, conduct a thorough inspection. Walk through every room. Test fittings, fixtures, outlets, and plumbing. Document any defects on a punch list — a formal record of items the developer is required to repair or address before you formally accept the unit.
Do not sign acceptance documents until defects are either corrected or formally acknowledged and scheduled for correction. Once you sign, the developer's obligation to address defects becomes harder to enforce.
At turnover, you will also pay move-in fees and the initial association dues, which cover building maintenance and shared amenities. These vary by project.
Step 9: Title Transfer
Receiving your keys is not the end of the process. You do not legally own the unit until the Condominium Certificate of Title (CCT) is in your name.
Title transfer involves several government offices — the Bureau of Internal Revenue (for capital gains tax and documentary stamp tax), the local government (for transfer tax), and the Registry of Deeds (for registration). The developer or your broker typically coordinates this, but it is your responsibility to follow up and ensure it is completed.
This process can take months. In some cases it takes a year or more, particularly when there are backlogs at the Registry of Deeds. Stay in contact with the developer's documentation team and keep copies of all payments made during this stage.
Until the CCT is in your name, your primary proof of ownership is the CTS and your official receipts. Keep these documents safe.
One Lancaster Park note: One Lancaster Park (Tower 3) in Lancaster New City, Imus, Cavite is currently in the preselling stage with a target completion of March 2028. It holds DHSUD License to Sell R4A-070124-0279. If you want to understand how this process applies specifically to this project, our team can walk you through each stage. View available units or use our mortgage calculator to estimate your monthly loan amortization.
Frequently Asked Questions
How long does the entire condo buying process take in the Philippines? For a preselling unit, the full process from reservation to title in your name can take anywhere from four to seven years, depending on the construction timeline and the speed of government processing after turnover. For ready-for-occupancy units, the timeline is shorter — loan approval and title transfer can be completed within one to two years.
Can I back out after signing the Contract to Sell? Yes, but the consequences depend on how long you have been paying. The Maceda Law gives you a grace period before the developer can cancel. However, refunds are limited — the law specifies what portion of payments you are entitled to recover, and reservation fees are generally non-refundable. Read your CTS carefully before you commit.
Do I need a lawyer to buy a condo in the Philippines? You are not legally required to have a lawyer, but having one review your Contract to Sell is worth the cost — particularly for preselling units where you are committing significant money before anything is built. At minimum, read the CTS yourself before signing and ask the developer's team to explain any clause you do not understand.
What is the difference between the Contract to Sell and the title? The Contract to Sell is an agreement that you will receive ownership once all conditions (full payment, completion) are met. The title — your Condominium Certificate of Title — is the actual legal document proving you own the unit. You receive the title after full payment and the completion of the transfer process with government agencies.
What to Keep in Mind
The condo buying process in the Philippines is manageable when you understand what each stage requires. The mistakes most buyers make are not complicated ones — they rush the early stages, skip verification steps, or lose track of documents during the long middle period between equity and turnover.
Take each step seriously. Verify before you sign. Keep every document. Follow up on your title. The process is long, but it is straightforward when you know what is coming.